Adding Grammarly in PowerPoint is easy and effective to ensure you have the best grammar check available while creating or editing presentations. You can ensure your presentations are error-free and professional with a few simple steps.
Whether using the Grammarly desktop application, web application, or premium subscription, this guide will show you how to quickly and easily add it to Microsoft PowerPoint quickly and easily.

This comprehensive guide will walk you through setting up your Grammarly account, downloading the application or plugin, and accessing it inside Microsoft Office.
In addition, you’ll need a legal subscription or a way to access PowerPoint software, internet access for downloading the Grammarly application or plugin, and a Grammarly account with a subscription to edit your presentation on PowerPoint.
Once everything is set up correctly, you can quickly check the grammar and spelling in your presentation slides!
Method to Add Grammarly to PowerPoint.
So, does Grammarly work on PowerPoint software? The answer will be indirect. However, you must follow the six steps below to learn how to use Grammarly to review your PowerPoint presentations.
Step #1: Visit the Grammarly website for Microsoft Word.
If you want to operate Grammarly in your PowerPoint presentation, the first step will be installing Grammarly from Microsoft Word. All you have to do is search “Grammarly for Microsoft Word and Outlook” on Google.
Download the software from the first link displayed in the search results. Then, when you open the webpage, you will see a button as “Get it for Windows.” Click on it.
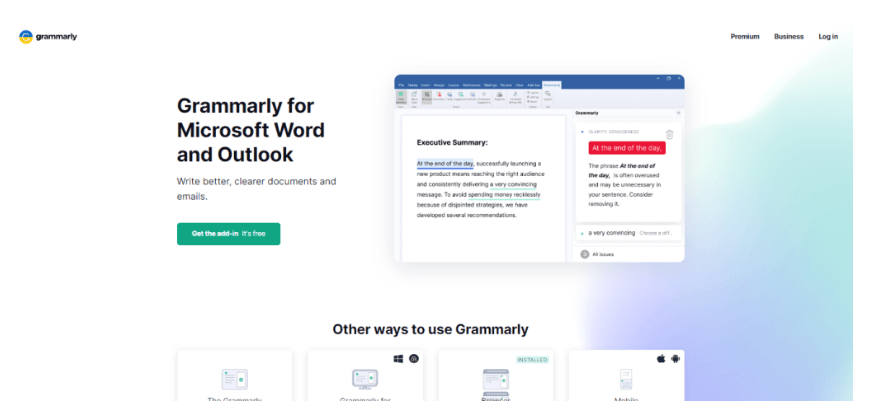
Remember that the link will let you access the Grammarly free version. So before that, you know how to use Grammarly on a website. You may have to understand how the program works if you are still getting familiar with Grammarly.
Step #2: Install the Grammarly Add-In
Next, you must download the Grammarly add-in software to your PC. Once you download the file, run the installation file ending with the .exe file. A pop-up window will prompt you to get started. Then, click the green button and begin the installation process.
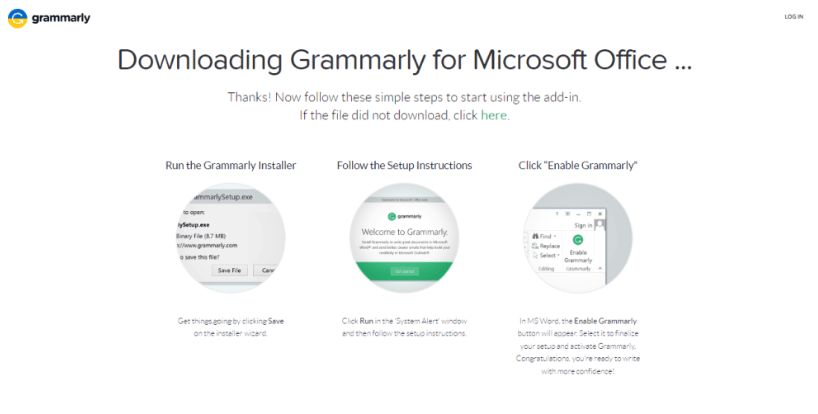
There will be another prompt with checkboxes that are required to choose. For example, you will need Grammarly for Word, so click the “Grammarly for Word” checkbox. Similarly, if you want to install the application for Outlook, you need to click on the “Grammarly for Outlook” checkbox.
Also, it is vital to read the terms and conditions and the privacy policy. You must agree to those terms and privacy policies before downloading the program to your PC. Once you choose the correct checkboxes, click on the install button.
Step #3: Click on the finish icon.
The Grammarly installation process is swift, but the application may prompt you to shut down any other applications running in the background. For example, if you are downloading Grammarly for Word, you cannot open the Outlook application in the background as it may interrupt the installation process. Therefore, the program will prompt you to close other background applications.
After the installation, a window will appear saying that you have installed Grammarly. Then, click on the finish button and wrap up the process.
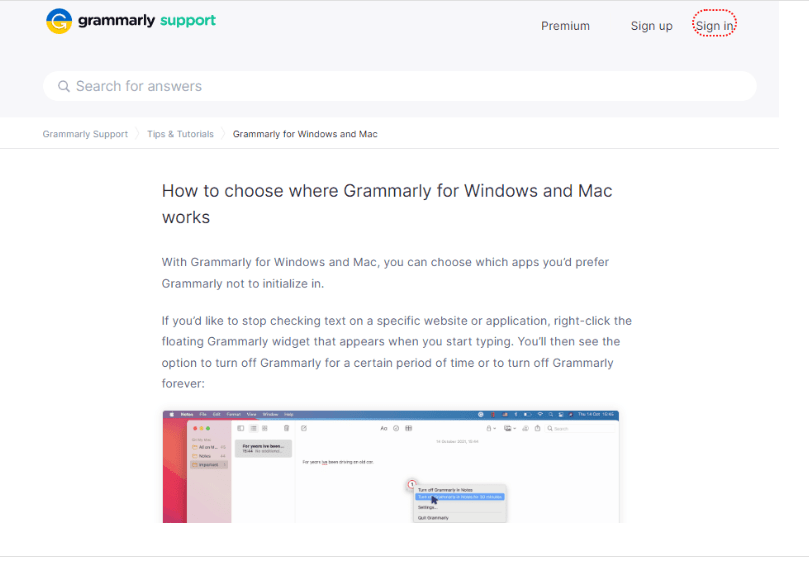
Step #4: Open the Grammarly application.
Once the application is installed, open MS Word. After opening the Word software, you will see new buttons on the top of the editing deck. The user interface might change because new buttons will be introduced to open Grammarly in MS Word. You will find the new buttons in the screen’s top left corner.
Step #5: Log in to your Grammarly account
After clicking the “Open Grammarly” button on the top right corner of the page, you must log in to your Grammarly account. You can create one from the options if you do not have a Grammarly account. Creating an account is easy and will not take more than two minutes.

Once you log in to your account, you will see a pop-up window prompting you to open the Grammarly website. After clicking on it, you will be redirected back to your MS Word application, and you can start your editing process.
Step #6: Checking your work in MS Word
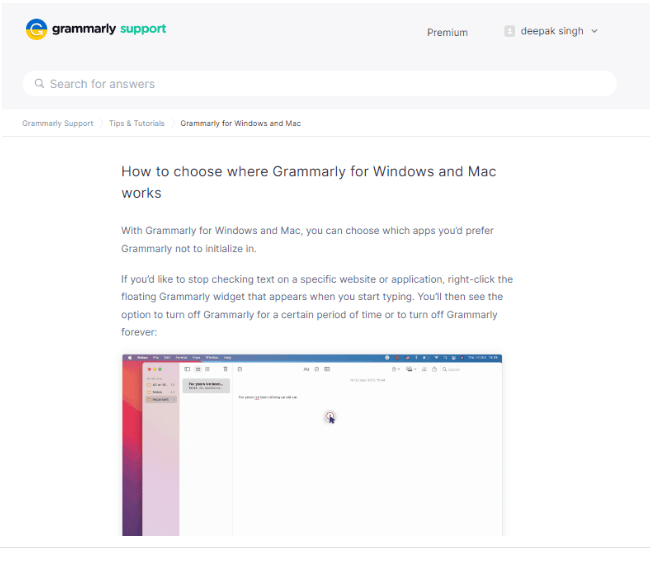
Once you finish the work in the PowerPoint presentation, you must copy the entire text from PowerPoint and paste it into MS Word. Once you paste the text on MS Word, Grammarly will start working immediately. Then, you can fix the errors in your text from here and move them back to your PowerPoint presentation.
Congratulations! You can now use Grammarly on PowerPoint without any hassle.
How to disable Grammarly to PowerPoint?
If you want to disable Grammarly to Powerpoint, you have come to the right place. Follow these simple steps to disable Grammarly easily:
Step #1: Open your PowerPoint presentation and select “File” from the menu bar.
Step #2: From the drop-down menu, select “Options.”
Step #3: When the PowerPoint Options window appears, click the “Proofing” tab.
Step #4: Uncheck the box next to “Check Grammar With Spelling” and press “OK.” This will disable Grammarly to PowerPoint.
And that’s it! Now you’ve successfully disabled Grammarly to PowerPoint. You’re ready to dive back into your presentation.
Benefits of Using Grammarly in PowerPoint
Grammarly in PowerPoint can offer several benefits to users who want to create polished and error-free presentations.
By integrating Grammarly with PowerPoint, students can ensure their slides are clear, professional, and free of grammar mistakes. Grammarly helping students with real-time writing suggestions, spelling corrections, and tone adjustments makes it easier to create polished presentations with confidence. With this tool, students can focus more on delivering their message effectively rather than worrying about errors.
Here are some of the key advantages of using Grammarly in PowerPoint:
Grammar and Spelling Checks:
Grammarly identifies and corrects grammar and spelling mistakes to ensure your PowerPoint slides appear polished and professional without errors. It’s a quick way to fix misspellings, punctuation mistakes, and other writing issues.
Enhanced Clarity:
Grammarly helps improve sentence structure and word choice to make your messaging and ideas clearer and more concise in slides. This boosts comprehension of complex concepts and instructions conveyed through presentations.
Improved Tone and Style:
Grammarly provides suggestions to help maintain a suitable tone and style consistently across your presentation, whether formal, casual, or persuasive, based on intent. This creates cohesive messaging.
Vocabulary Enhancement:
Grammarly’s advanced vocabulary recommendations allow you to diversify word choice and usage for more compelling and impactful presentations that better resonate with audiences.
Related Read:
Final Thoughts: Grammarly to PowerPoint
Grammarly is an excellent grammar-checking tool. Thanks to its extensions, you can now use it on PowerPoint. Using Grammarly on PowerPoint will allow you to check errors right from PowerPoint, so you don’t have to waste your time copy-pasting content to the app.
With the steps mentioned above, you can add Grammarly to PowerPoint. So go ahead and try the given method right away!
Frequently Asked Questions
Grammarly does not support Microsoft products like PowerPoint and Excel. It only supports Word and Outlook software. However, you can still check your work by copying the entire work from PowerPoint to MS Word.
Grammarly app can work on MS Word, Outlook, native applications like Discord, Slack, and Apple Mail, and other favorite applications like Gmail, Hubspot, Salesforce, etc.
Yes! Grammarly overall is a reliable and one of the best online writing assistants. With all the powerful features, you can count on the app!
- 11 Best Coursera Alternatives & Competitors of 2025 - July 4, 2025
- Grammarly Free Trial 2025: 7 Days Pro [Limited] - July 2, 2025
- How Music Can Improve Student Focus and Writing Productivity? - June 23, 2025
